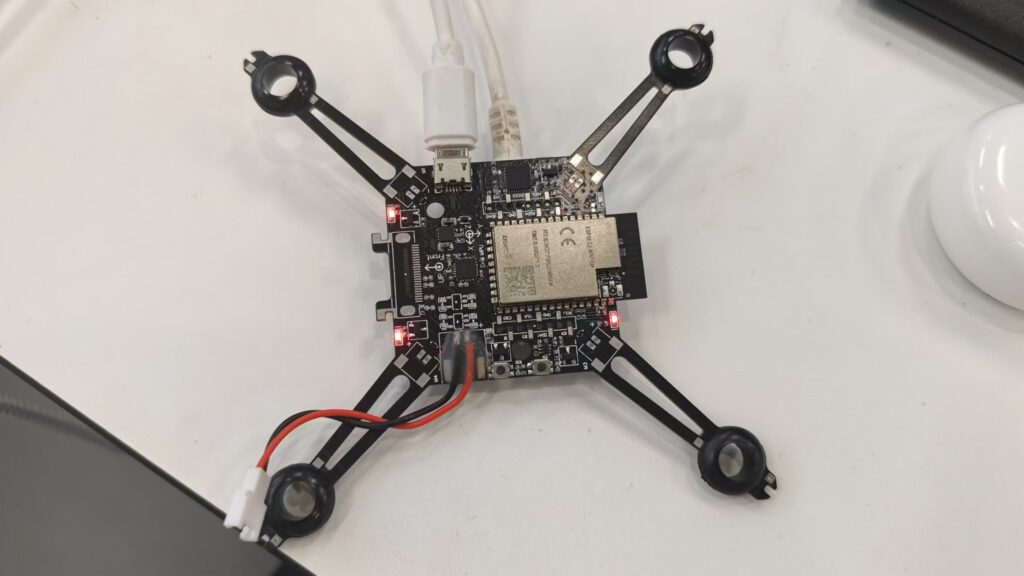
Recently, in the development of the esp drone project, the environment construction of ESPdrone is more complicated, stepping on a lot of pits, the official documents are also relatively messy, easy to be dizzy, so I wrote a summary, and I will continue to update the pitfalls encountered in the process of building the ESPdrone and ESP32 environment and the experience summarized, and those who develop ESP32 together can also communicate
Quick jump to the directory:
1. Environmental selection
System: ubuntu20.04
Environment components: prerequisites git; PY version 3.8+ is recommended;
Install the Liunx system: It is recommended to use the Ubuntu20.04 Alibaba Cloud source, which can basically meet the requirements with 100 GB of space. Alibaba Cloud image link: oldubuntu-releases-releases installation package download_Open Source Image Site-Alibaba Cloud (aliyun.com) As shown in the figure:

Click me to go back to the table of contents
2. Start building the esp-idf compiler
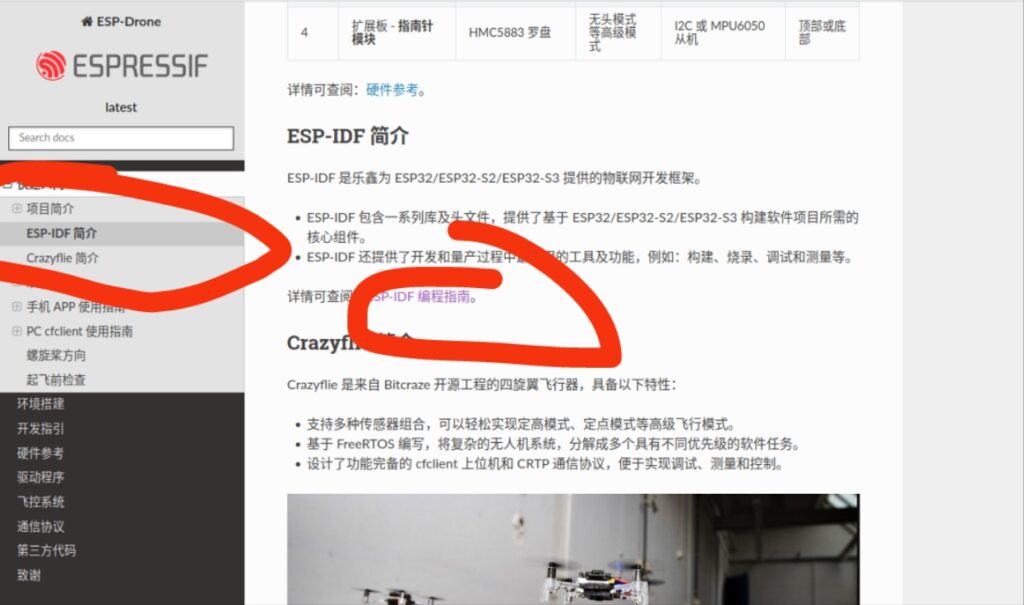
1.进入esp-drone文档:https://docs.espressif.com/projects/espressif-esp-drone/zh-cn/latest/gettingstarted.html#esp-idf
2. Click ESP-IDF Introduction to enter the ESP IDF programming guide:

Note that the version number in the upper left corner must be the same as in the picture, and the version should be v4.4, otherwise there will be problems when compiling espdrone later

3. Compiler code acquisition
Open the terminal with ubuntu and run it directly by copying and pasting:
mkdir -p ~/esp
cd ~/esp
git clone -b release/v4.4 –recursive https://github.com/espressif/esp-idf.git

Start clone code from github, if there is no ubuntu and no git component, there will be a command line prompt to download git: sudo apt-get install git, if you can’t connect or the download speed is slow, please open magic Internet and global proxy

After the code clone is completed, install the target chip environment;
cd ~/esp/esp-idf
./install.sh esp32s2

After the installation is complete, you will be prompted to set the environment variables:

Enter the command in the diagram:
. $HOME/esp/esp-idf/export.sh

The environment variable is set:

Click me to go back to the table of contents
3. Start running a Hello_World instance project

Start copy-pasting hello_world project to the esp folder alongside the esp-idf folder:
cd ~/esp
cp -r $IDF_PATH/examples/get-started/hello_world .
Renderings of folders in ESP:

Start compiling:
cd ~/esp/hello_world
idf.py set-target esp32s2
idf.py menuconfig


If only one ESP S2 board is linked, you can press Q to save and exit after entering the menu


Enter after exiting the menu
idf.py build
Building the binary is done

Prepare to connect the serial port of the device to burn:

check the com:cutecom is reconmmended:

CUTECOM installation method:
In the terminal command line, enter:
sudo apt-get install cutecomWhen the selection appears, type: y

Then enter: sudo cutecom to run, enter the password, and the following interface will appear, indicating that it is installed.
You can also see CUTECOM directly in the application list and click to enter.

Burning, replace the port with the serial port name connected to cutecom: /dev/ttyUSB0, the baud rate can be omitted, enter in the terminal command line:
idf.py -p /dev/ttyUSB0 flash

As shown in the figure, the burning is successful:

If the burning is successful, you can see the phenomenon when you open cutecom, which means that the esp-idf compilation environment has been set up successfully.

If the serial port cannot be opened, please close cutecom or add user file permissions:
sudo usermod -a -G dialout $USER
Click me to go back to the table of contents
Four Start the ESP Drone compilation
Many people will not be able to distinguish the relationship between ESP drone and ESP idf here, in fact, the code of ESP drone is the same as the hello_world demonstrated above The code is a juxtaposition, and it is just an instance, while esp-idf is the environment required for the instance to run, which is equivalent to the C++ code you wrote yourself and the code written by others are juxtaposed. To make the code run, you need a compiler like vscode to compile and run


After understanding the relationship, let’s go back to the ESP drone documentation and start clone flight control code:
git clone https://github.com/espressif/esp-drone.git

复制粘贴esp-drone文件夹到esp文件夹与esp-idf编译器并列

Open this file with a terminal

因为是与hello_world样例为并列关系,所以跟之前编译烧录hello_world的步骤一样,添加环境变量,编译,构建二进制文件,忘记如何操作hello_world样例的可以点此回到第三步:hello_world,烧录(烧录时记得关闭串口助手,否则会显示串口繁忙烧录失败):
. $HOME/esp/esp-idf/export.sh
idf.py set-target esp32s2
idf.py menuconfig
idf.py build
Programming completed:

You can see that the indicators of the ESP32S2 development board are lit up three, and the mobile phone scans the wifi and the burning is successful:


Congratulations, so far the code of esp-drone has been run through, thank you for your patience and watching, I wish you all the best in the follow-up development!!
Click me to go back to the table of contents